

I created This Mobile...


From This One!!

That's right - I recycled Jackson's crib mobile!
I took apart Jax's old crib mobile and looked at how the canopy was sewn together. I rolled up my sleeves and designed my own for our baby girl using the hardware from his. Thanks to Paige for tipping me off to Fabric.com. I found some fabric I liked and ordered enough for making curtains, a bed skirt and this mobile. I have some left over too for small projects... all for less than $40! I will be purchasing a couple fitted crib sheets and the breathable bumper from Walmart.com. When all is said and done, I will have spent about $80 on her whole bedding and window treatment set. Compare that to Jackson's store bought $150 set.
HA! Oh how we learn with our second child :)
Here's how I did it! It took some time and patience, but was pretty simple.
First I looked at how the old one was put together.

1 piece of fabric at 11x11
4 folded flap sides at 11x6
4 corner triangle pieces to support the canopy arms

I wanted to add a little flair to the folded flaps on the sides, so I purchased this ruffled ribbon. I cut them to the same length of the side pieces.

Using Crafter's Pick Fabric Glue...

I draw a line down the center of the ribbon and attached it to the unfolded flap piece. I placed it about 2/3 the way down the piece because I will need to fold it before attaching it to my 11x11 square.

I did that to all 4 flaps.

Then, I pinned the 6" sides to give the flap pieces a finished edge and hide the end of the ribbon.


Once the edges were sewn, I then folded the flap leaving more green fabric to one side to allow for a 1/4 seam allowance.

Then I placed it face down on top of the 11x11 square (like sides together). 

And pinned on all 4 finished ribbon sewn folded flaps.

Remember that corner piece to support the canopy arms?

Here's how you do it. Cut out 4 squares roughly 3.5"x3.5".

Fold them in half to form a triangle and pin the open sides to the corner of the 11x11 square. This pieces NEEDS to be places on TOP of the flaps.

Here, al the corners are pinned.
SPECIAL NOTE: I forgot this step at this point so I had to improvise later. *Now is also the time you would attach the strings to your dangling mobile pieces. Insert the string between the corner triangles and the 11x11 square.
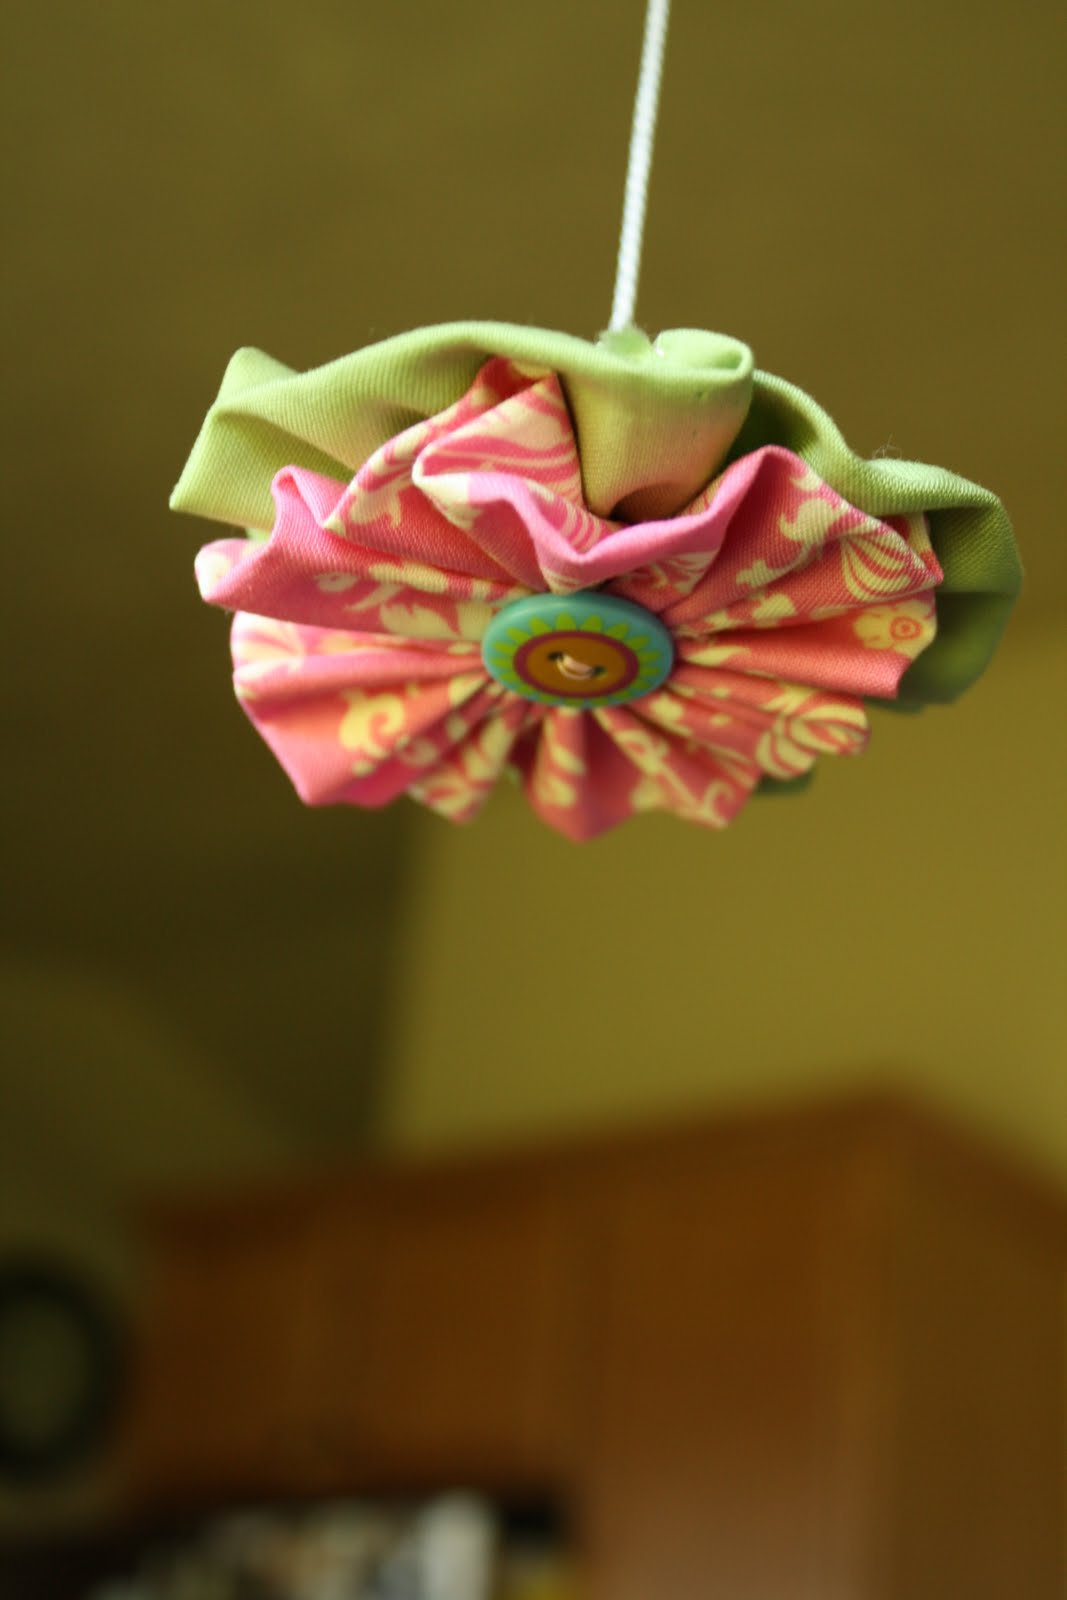
Here are my dangling flowers. I used Heather Bailey's tutorial to make these adorable fabric ruffled flowers. I made 6 flowers. 5 to dangle (1 being larger for the center) and 1 for the music box.

On the back of the flowers, I used fabric glue to attach a strip of felt. Allow this to dry for a few minutes.

Then I knotted my string through the felt strip.

Then I cut out a circle from the same felt and cut a tiny hole in the center. I wanted to cover the strip of felt with a more pleasing circular patch.

Then I glued this down. See how that looks more like the back of a flower?

Here's my dandling flower. Repeat this for all your flowers (except the 6th one for the music box)
*These are the strings that you will insert between the corner triangles and the square 11x11 piece.
This is your mobile after you have sewn the corners (imagine the dangling pieces are sewn in too)

Turned right side out

The underside:

Now sew in a button hole, or using your zigzag stitch to create the hole for the top of the canopy holder.

I used the zigzag technique, so I had to do was carefully cut the fabric between the sewn lines.

THen I cut a separate long (40 " x 5") piece of fabric to cover the stem of the mobile. I pinned the ends and stitched a finished edge. Then folded the piece like a skinner hotdog and stitched all the way down.

Flipped it right side out and this will ruffle to cover your stem completely.

Covering the music box. I cut out a felt circle the size of my music box face. I hot glued that one to cover the moon completely.

Then I hot glued my last flower to the over the felt circle. That's finished!

Then I attached the all the hardware back together and set up my baby girl's mobile!
Her view.... (alittle dark, sorry!)
.JPG)


9 comments:
Oh my word! I want to re-work all of my crib stuff for this one, but that looks like a lot of work! Good job! Maybe I will pay you to do it all for me, ha!
SERIOUSLY!!!!
I think ours will follow soon! My guess is the court date will be August 2, Chris thinks it will be July 30. We'll see, only time will tell.
baby girl bedding
That's so awesome, April! You are doing such an awesome job on all your projects. Makes me wish I could sew and do all that! You could seriously sell all that stuff you make!! I'm with Kate, I'd pay you to do mine!!
Saw your blog from Kelly's Korner. What a great idea! I am working on #4's room right now. Needed to recycle our old mobile. Headed to Hobby Lobby for supplies. Thanks for the inspiration.
a super idea...I so enjoyed seeing what you do....Hope you will stop by. "I have a giveaway on mine" at A Baby Changes Everything and by the end of the day will have one on my main blog.
Have a safe and happy Fourth. Celebrate America
It looks great. The main thing I love is that it is hanging down flat for "Her" view. Although there are alot of cute mobiles, they are usually for adults to see. Love her view. Great job.
That is SOOO cute! Good job!
Post a Comment